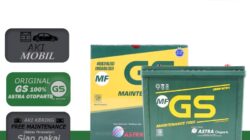


Harga Aki Mobil Merk Gs Astra – SKU : GSAHB Kategori : Aki Kering Tag…


Harga Aki Mobil Merk Gs Astra
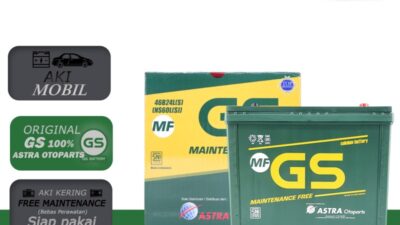
Harga Aki Mobil Merk Gs Astra – SKU : GSAHB Kategori : Aki Kering Tag…
Harga Aki Mobil Merk Gs Astra – SKU : GSAHB Kategori : Aki Kering Tag…
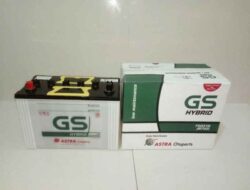
Harga Aki Mobil Merk Gs Astra – SKU : GSAHB Kategori : Aki Kering Tag…

Menjaga Paru Paru Agar Tetap Sehat – Paru-paru, jantung, persendian, dan bagian tubuh lainnya menua…

Cara Mengendarai Mobil Manual Di Tanjakan Macet – Banyak yang memanfaatkan momen Idul Fitri untuk…
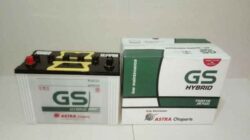
Harga Aki Basah Mobil Gs – Kode : GSAHB Kategori : Aki Kering Tag :…

Mobil Sigra Matic Atau Manual – Daihatsu Sigra tersedia di Indonesia dengan pilihan mesin bensin….

Harga Aki Kering Mobil Ayla – Harga Aki Mobil Ayla – Kali ini kami akan…

Harga Brio Bekas Tahun 2016 – JAKARTA KOMPAS.com – Honda Brio pertama kali diperkenalkan di…

Harga Brio Rs Urbanite 2022 – PT Honda Prospect Mr (HPM) resmi memperbarui Brio RS…

Harga Mobil Brio Satya 2018 – Honda Brio merupakan city car yang diproduksi Honda sejak…

Cara Mengemudi Mobil Yaris Matic – Halodoc, Jakarta – Belakangan ini mobil bertransmisi otomatis semakin…
No More Posts Available.
No more pages to load.